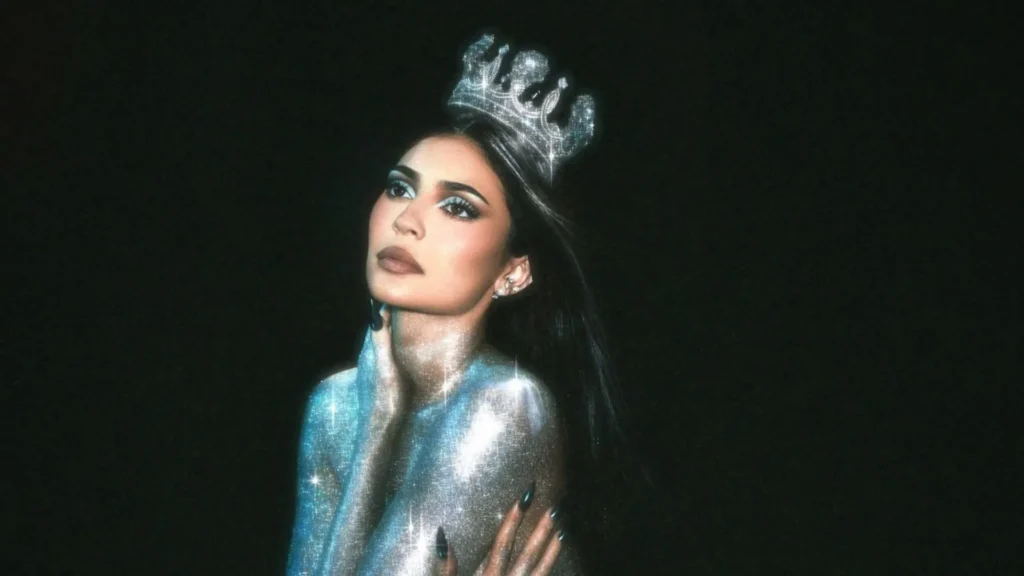
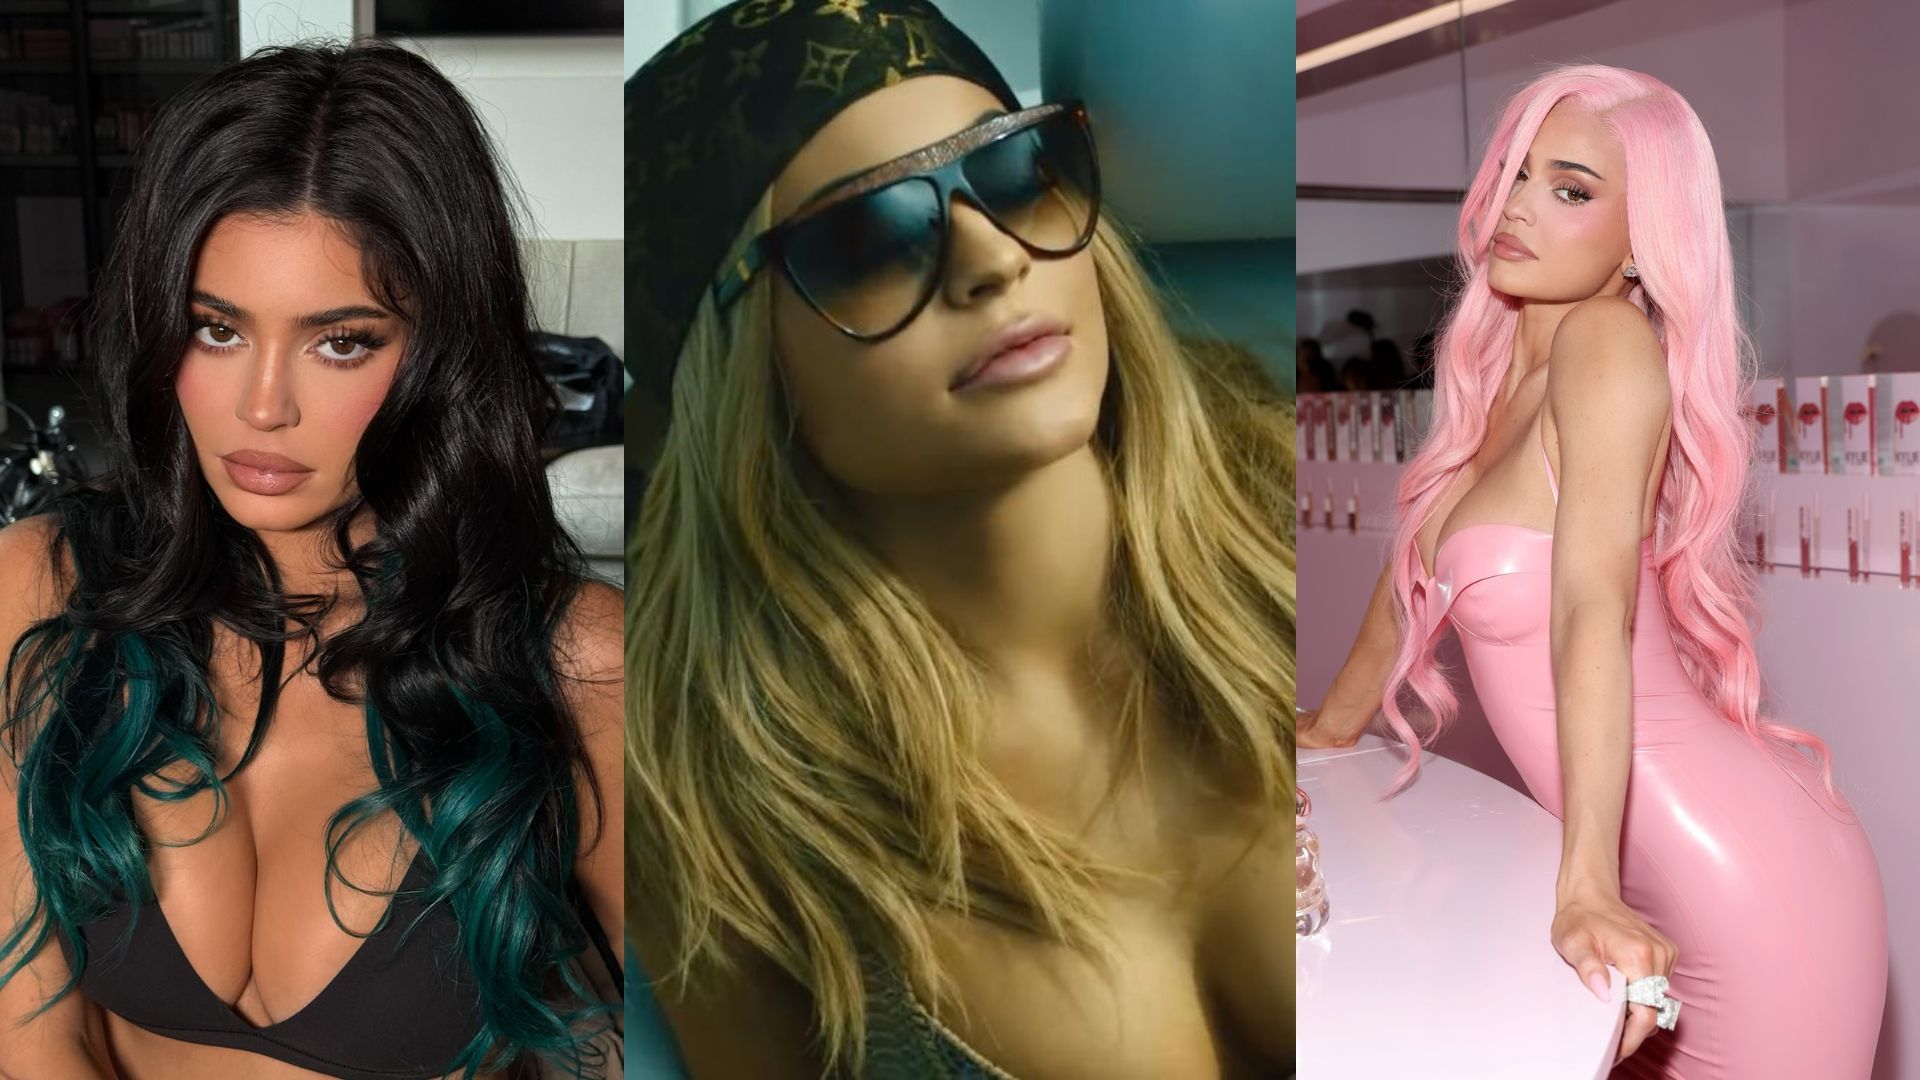
Kylie Jenner has been teasing the return of her iconic King Kylie era since 2024 but now she’s officially back to reclaim her throne. Between 2014 and 2016, before she become a billionaire cosmetic mogul, Jenner ruled Tumblr and other social media platforms with her impromptu posts, dyed hair, and dark brows with the Rio De Janeiro filter. Now that Kylie is stepping into her pop girl era, the world is reminiscing about the good times and recreating her famous King Kylie makeup looks, so let’s learn how to do it.
The name King Kylie comes from her old Snapchat and Instagram handle name @kingkylie, a name that dominated the internet in the 2010s. She ruled with her signature heavy glam look with a cut crease and eyelash extensions. A decade later, Kylie Jenner has become a successful cosmetic mogul. And as she celebrates the 10th anniversary of her beauty brand, she has once again gone back to her roots, launching a collection as an ode to the era that started it all — yes, the King Kylie era. Here’s how it all started.
In 2016, the teenage businesswoman shot an ad for her brand’s newly launched Glosses where she used the full Terror Jr song “3 Strikes”. And now, in a full circle moment, she is featured in the new Terror Jr. song and music video “Fourth Strike”. With both songs capturing a similar vibe with their melodies and nostalgic visuals, it comes as no surprise that they quickly gained traction, taking people back to their teenage years.
How to recreate the King Kylie makeup look: A tutorial
Forget the ‘clean girl aesthetic’; the King Kylie makeup look is not for the ‘less is more’ girls. It’s sexy, bold, and unapologetically gorgeous. And here’s the beauty-experts-approved way to achieve the look.
Step 1: Prep Your Skin
If you want to get the perfect finish, you have to prep your skin for all the products we are going to use. Start by replenishing your freshly washed skin with a hydrating primer like the Laneige Water Bank Blue Hyaluronic Essence Toner or Tatcha The Texture Tonic. Then it’s time for a moisturiser that suits your skin the best.
Step 2: The Base Makeup
If you want to use a concealer for spot correction, it’s best to do it before you put on foundation for this look. For the base, you need a matte full coverage foundation, something along the lines of Fenty Beauty’s Pro Filt’r Soft Matte Longwear Foundation or Bobbi Brown’s Weightless Skin Foundation. You can also go with the Kylie Cosmetics Power Plush Longwear Foundation. Then, use a highlighting concealer on the under-eye area. Kylie Cosmetics’ Power Plush Longwear Concealer or the NARS Radiant Creamy Concealer are both great choices for this step.
Set everything with the Laura Mercier Translucent Loose Setting Powder or any setting power of your choice. Now, it’s time for the heavy contour underneath the cheekbones, the sides of your nose, and by the jawline. Using a stick contour like Fenty Beauty’s Match Stix Matte Contour Skinstick or Haus Labs’ Precision Sculpt Shaping Balm will help you to sculpt your face better.
Step 3: The Deep Brows
The thick, structured eyebrows are one of the key attractions in this makeup look. If you are handy with an eyebrow brush, go for a brow tint like Anastasia Beverly Hills’ Dipbrow Pomade. However, if you’re not a brush-on professional, get a dark coloured brow pencil to pencil on a precise brow.